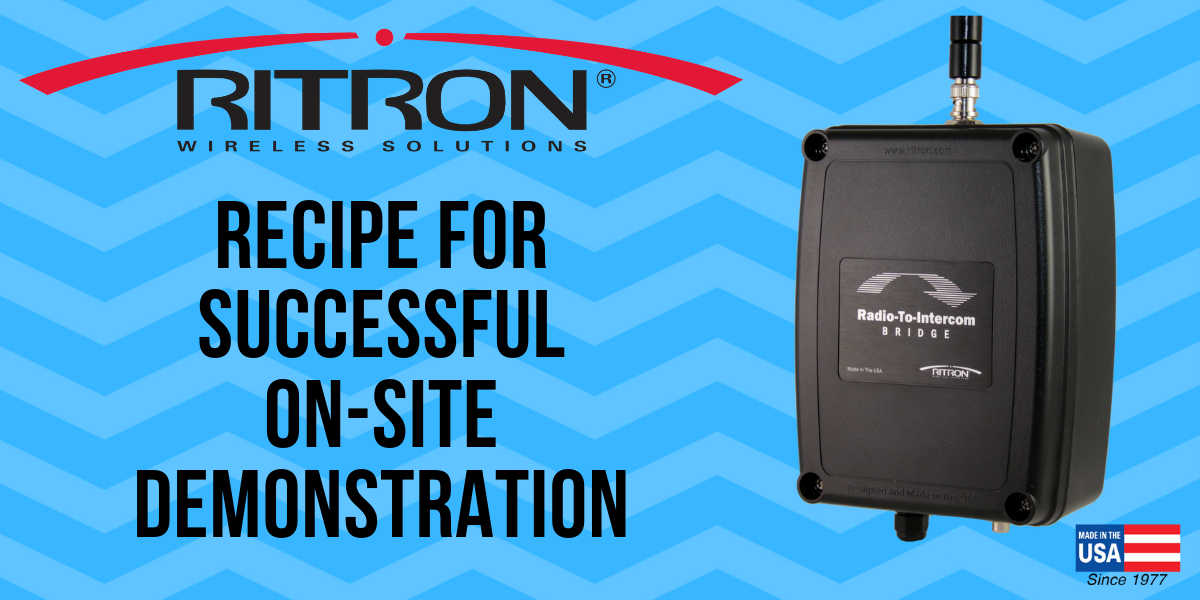
Recipe For Successful On-Site Demonstration
Don’t let an unfamiliar PA System prevent you from proceeding with a potential client. Check out the recipe below to ensure you have a successful on-site demonstration - and then bring in PA System expertise, if needed.
Ingredients:
- One Radio-To-Intercom Bridge™ receiver
- One AC Adapter (included with the Radio-To-Intercom Bridge)
- One Two-Way Radio
- One 3.5mm Female jack to RCA Male phono plug Y-Adapter
- One set of earbud headphones with 3.5mm plug (like the older style iPhone headphones)
- One 6 foot RCA Male to RCA Male phono cable (optional)
Instructions:
Once you secure your first Radio-To-Intercom Bridge receiver from Ritron, you’ll want to demonstrate its capabilities in schools, warehouses, hospitals, and other facilities. By following the steps below, you’ll be prepared no matter what PA system you encounter on site, because you’ll initially demonstrate the system without connecting to the intercom!
- Find out from your prospect the type of two-way radios they are using, specifically the frequency and tone.
- Program the Radio-To-Intercom Bridge to that frequency and tone. (See user manual for programming instructions.)
- Program one of your in-house two-way radios to the same frequency and tone.
Instead of connecting the Radio-To-Intercom Bridge to a PA System, in the following steps you’ll be using a set of common headphones with a 3.5mm plug to monitor the output of the Radio-To-Intercom Bridge. You can conduct these tests in your shop prior to visiting the prospect.
- With the 3.5mm Female jack to RCA Male phono plug Y-Adapter, insert one of the RCA Male plugs into the RCA jack on the bottom of the Radio-To-Intercom Bridge.
- Insert the earbud headphones plug into the 3.5mm female jack on the Y-Adapter.
- Power the Radio-To-Intercom Bridge using the included AC Adapter (RPS-1B power cube) and available 120 volt AC power.
- Test the unit by keying your two-way radio and speaking clearly into the radio while another person monitors the output of the Radio-To-Intercom Bridge via the connected earbud headphones.
That’s it! As long as the programming is correct on both the two-way radio and the receiver, transmissions from the two-way radio will be received and output to the headphones. Replicate this same setup once you’re on your prospect’s site, and use their two-way radio (since you programmed the receiver to their frequency and tone previously) to conduct the testing.
Connecting to the PA System
If the PA amplifier has an AUX IN RCA jack, use the 6 foot RCA to RCA phono cable to make the connection to the Radio-To-Intercom Bridge receiver. The Radio-To-Intercom Bridge is designed to be connected to an existing PA / intercom system with its own PA amplifier and wired speakers. Remember, it’s merely a component of a larger system powered by existing 120 volt AC.
- At this point we recommend involving the PA system installer, technician, manufacturer, or facility personnel with knowledge of the PA system.
- When making the physical connection, think of the Radio-To-Intercom Bridge as another input to the PA system, like adding a music source or a microphone. It connects through a high impedance, unbalanced AUX input (RCA cable) or a 600Ω, balanced MIC input. (See the user manual for wiring instructions.)
- Ritron engineers designed in a relay switch closure, giving the Radio-To-Intercom Bridge the ability to prioritize valid incoming messages to the PA. This can be used to trigger or “key” the PA / Intercom amplifier. When in use, music or other announcements are interrupted when a message comes through the Radio-To-Intercom Bridge.
Check https://www.ritron.com/leverage-existing-radios-and-pa-system-with-radio-to-intercom-bridge for more tips on installation.
Demonstrating the Radio-To-Intercom Bridge™ to Your Customers
Ritron Radio-To-Intercom Bridge™ Information and Specifications:
Did You Know?
All Ritron products are field programmable. Find user manuals with complete instructions here, and for PC programmable products, find software information here.
How To Purchase
Purchase Ritron products through our network of authorized reseller partners across the United States. Send us an email at sales_info@ritron.com or call us at 800.872.1872 and we'll connect you with a trusted partner.
How do I find more information?
- Send an email to our sales staff sales_info@ritron.com
- View Reseller Resources
- Learn More and Find Technical Specifications
Related Topics: Radio and Wireless Solutions for Schools, Radio and Wireless Solutions for Hospitals, Wireless Technology Solutions, Radio and Wireless Solutions for Colleges, Emergency Call Boxes for Campus Security